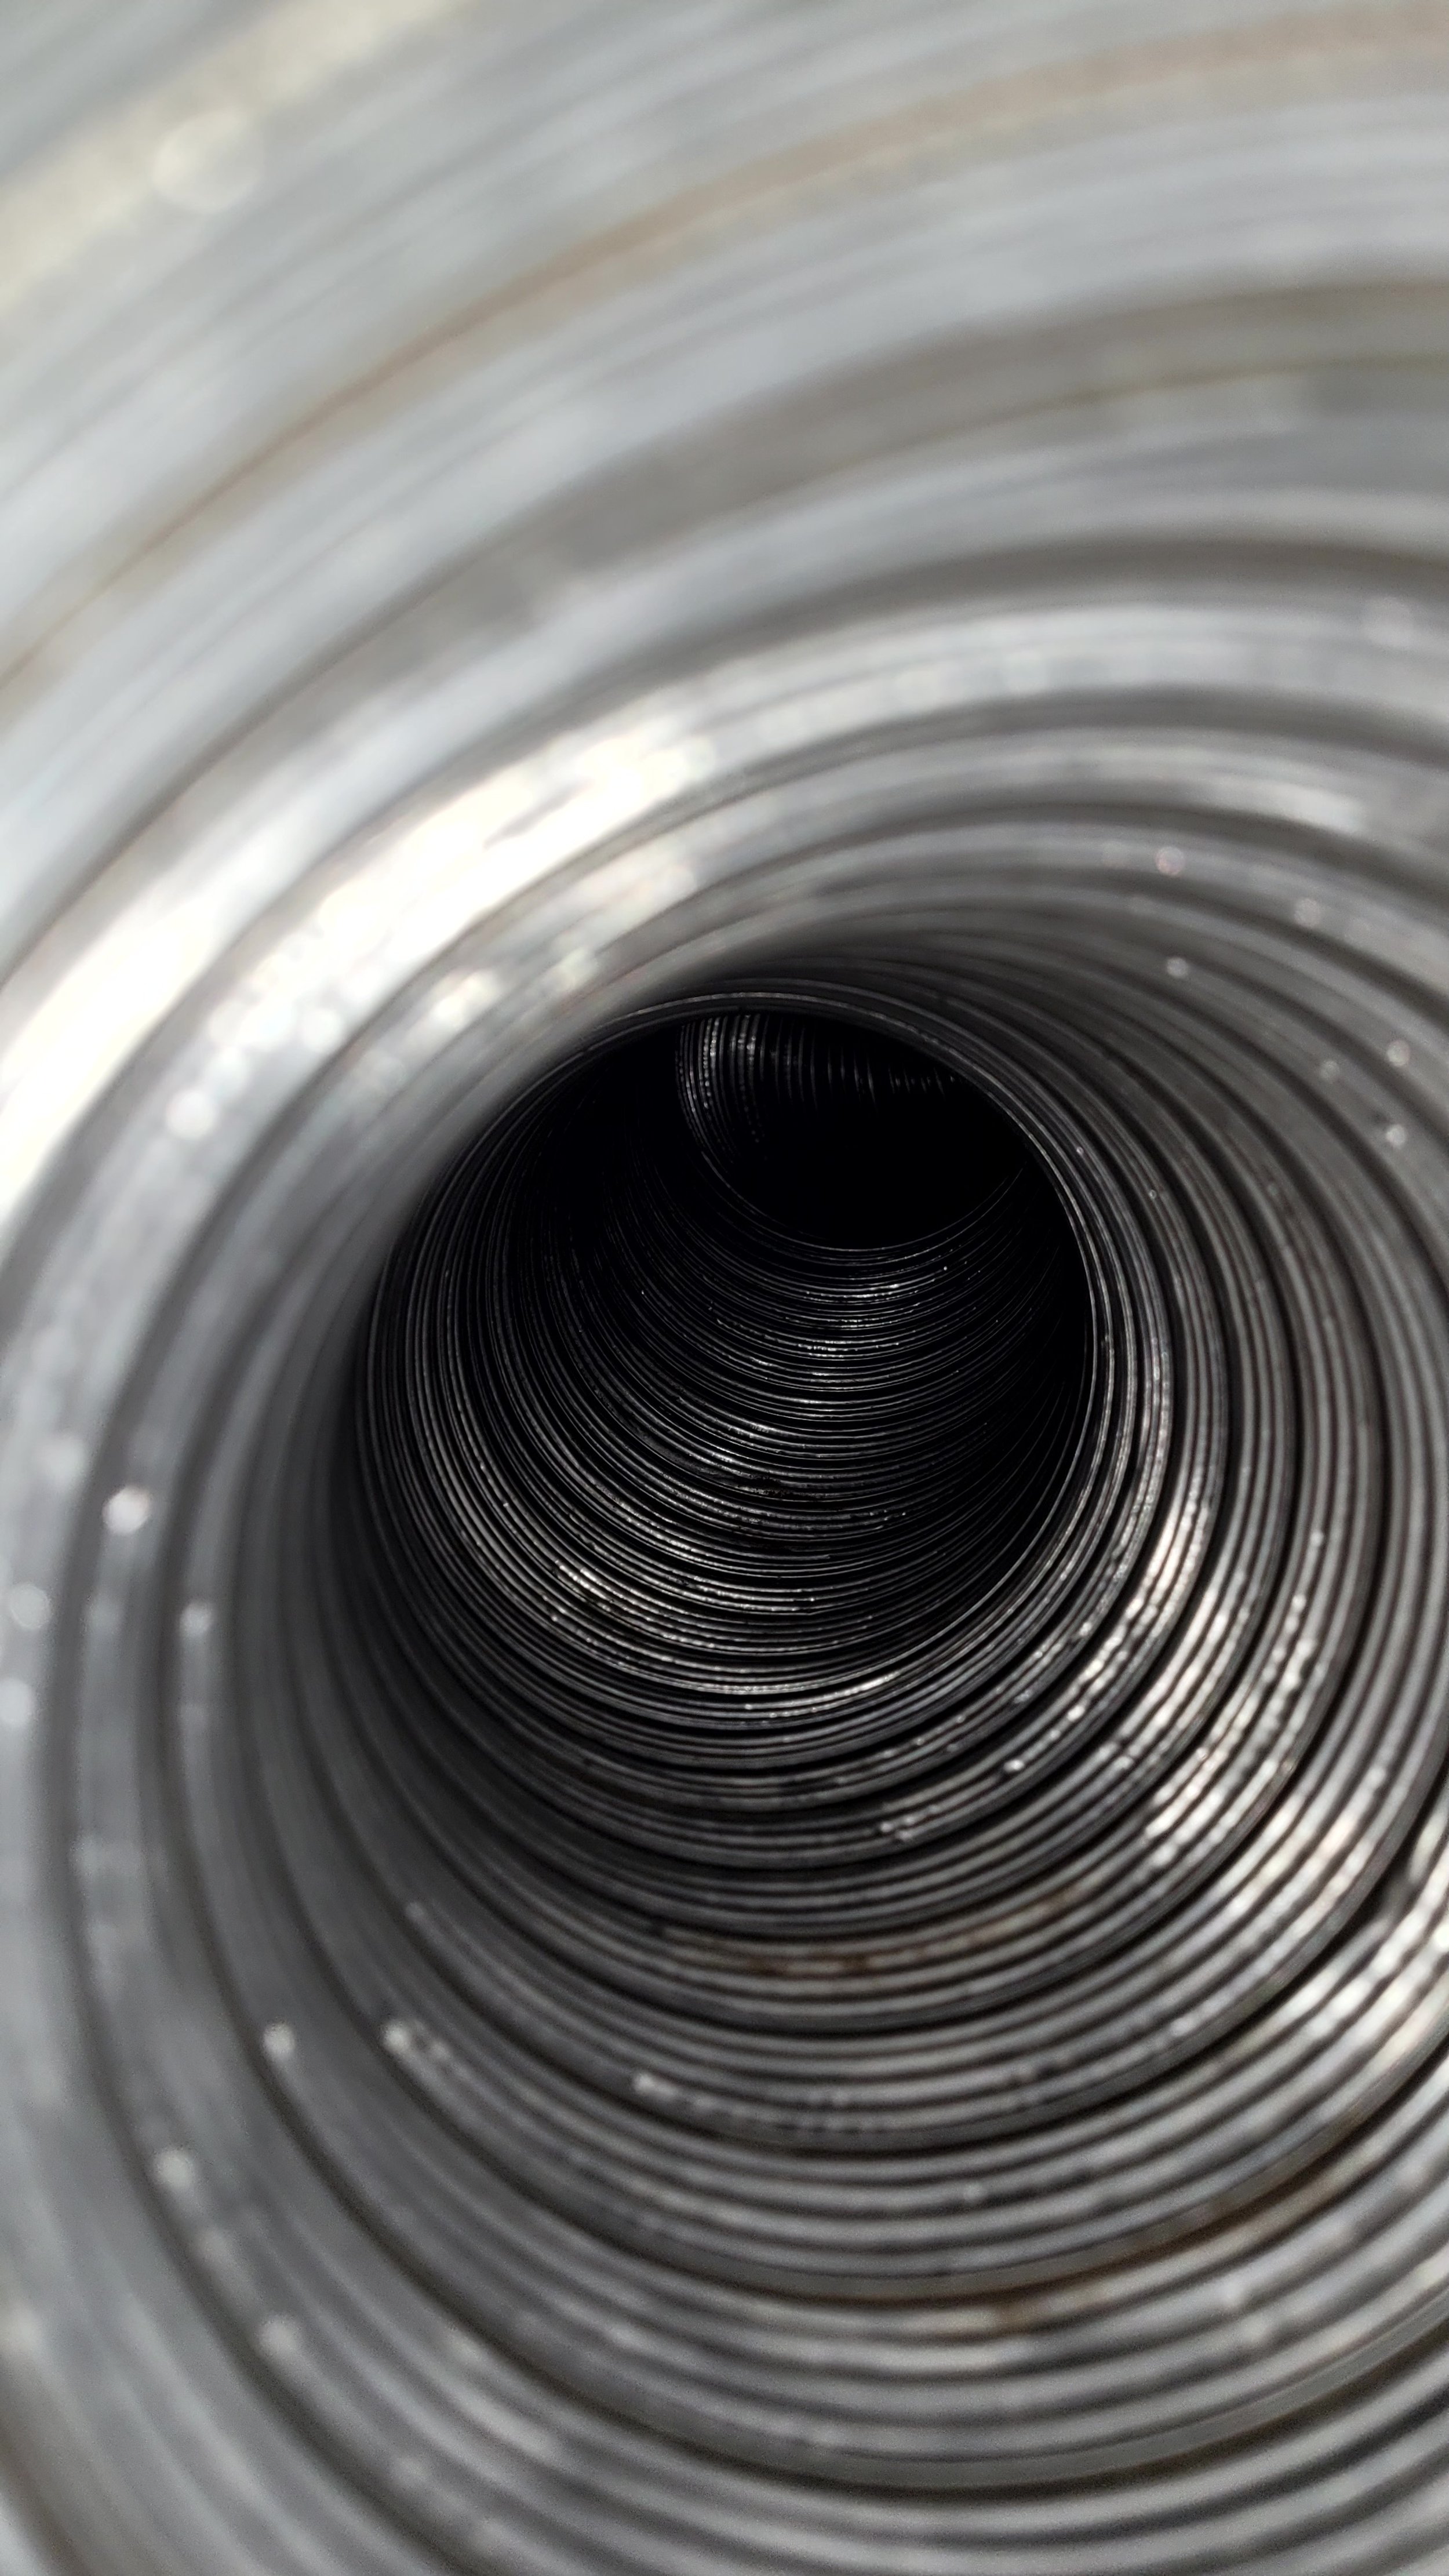
COMMERCIAL CLEANING
INFORMATION
Each of our commercial applications requires a unique approach. Some air duct cleaning jobs have bigger pipes than others, some businesses work at different hours than others. We try our best to accommodate the specific needs of each client to support their air quality.
We also introduced a unique line of equipment with our commercial jobs. That includes our Hypervac system, a huge vacuum that we can hook up to either the supply or return side of the system, and various other forms of equipment that helps us meet the needs of our customers.
Every job is quoted in person to ensure accuracy.
COMMERCIAL AIR DUCT CLEANING
Our Air Duct Cleaning Process
Introductions and Initial Walkthrough
STEP ONE
- Technicians will arrive at your business, introduce themselves, and wear protective boot covers.
- We conduct an initial walkthrough to locate all registers and assess the HVAC system layout.
- We will provide our professional opinion, and recommendation.
- You can decide if the vent needs to be cleaned before we begin the process. No pushy sales guy!
Get Started!
STEP TWO
- Set up the equipment, lay down drop cloths and corner protectors when needed to protect your property, and begin the cleaning process.
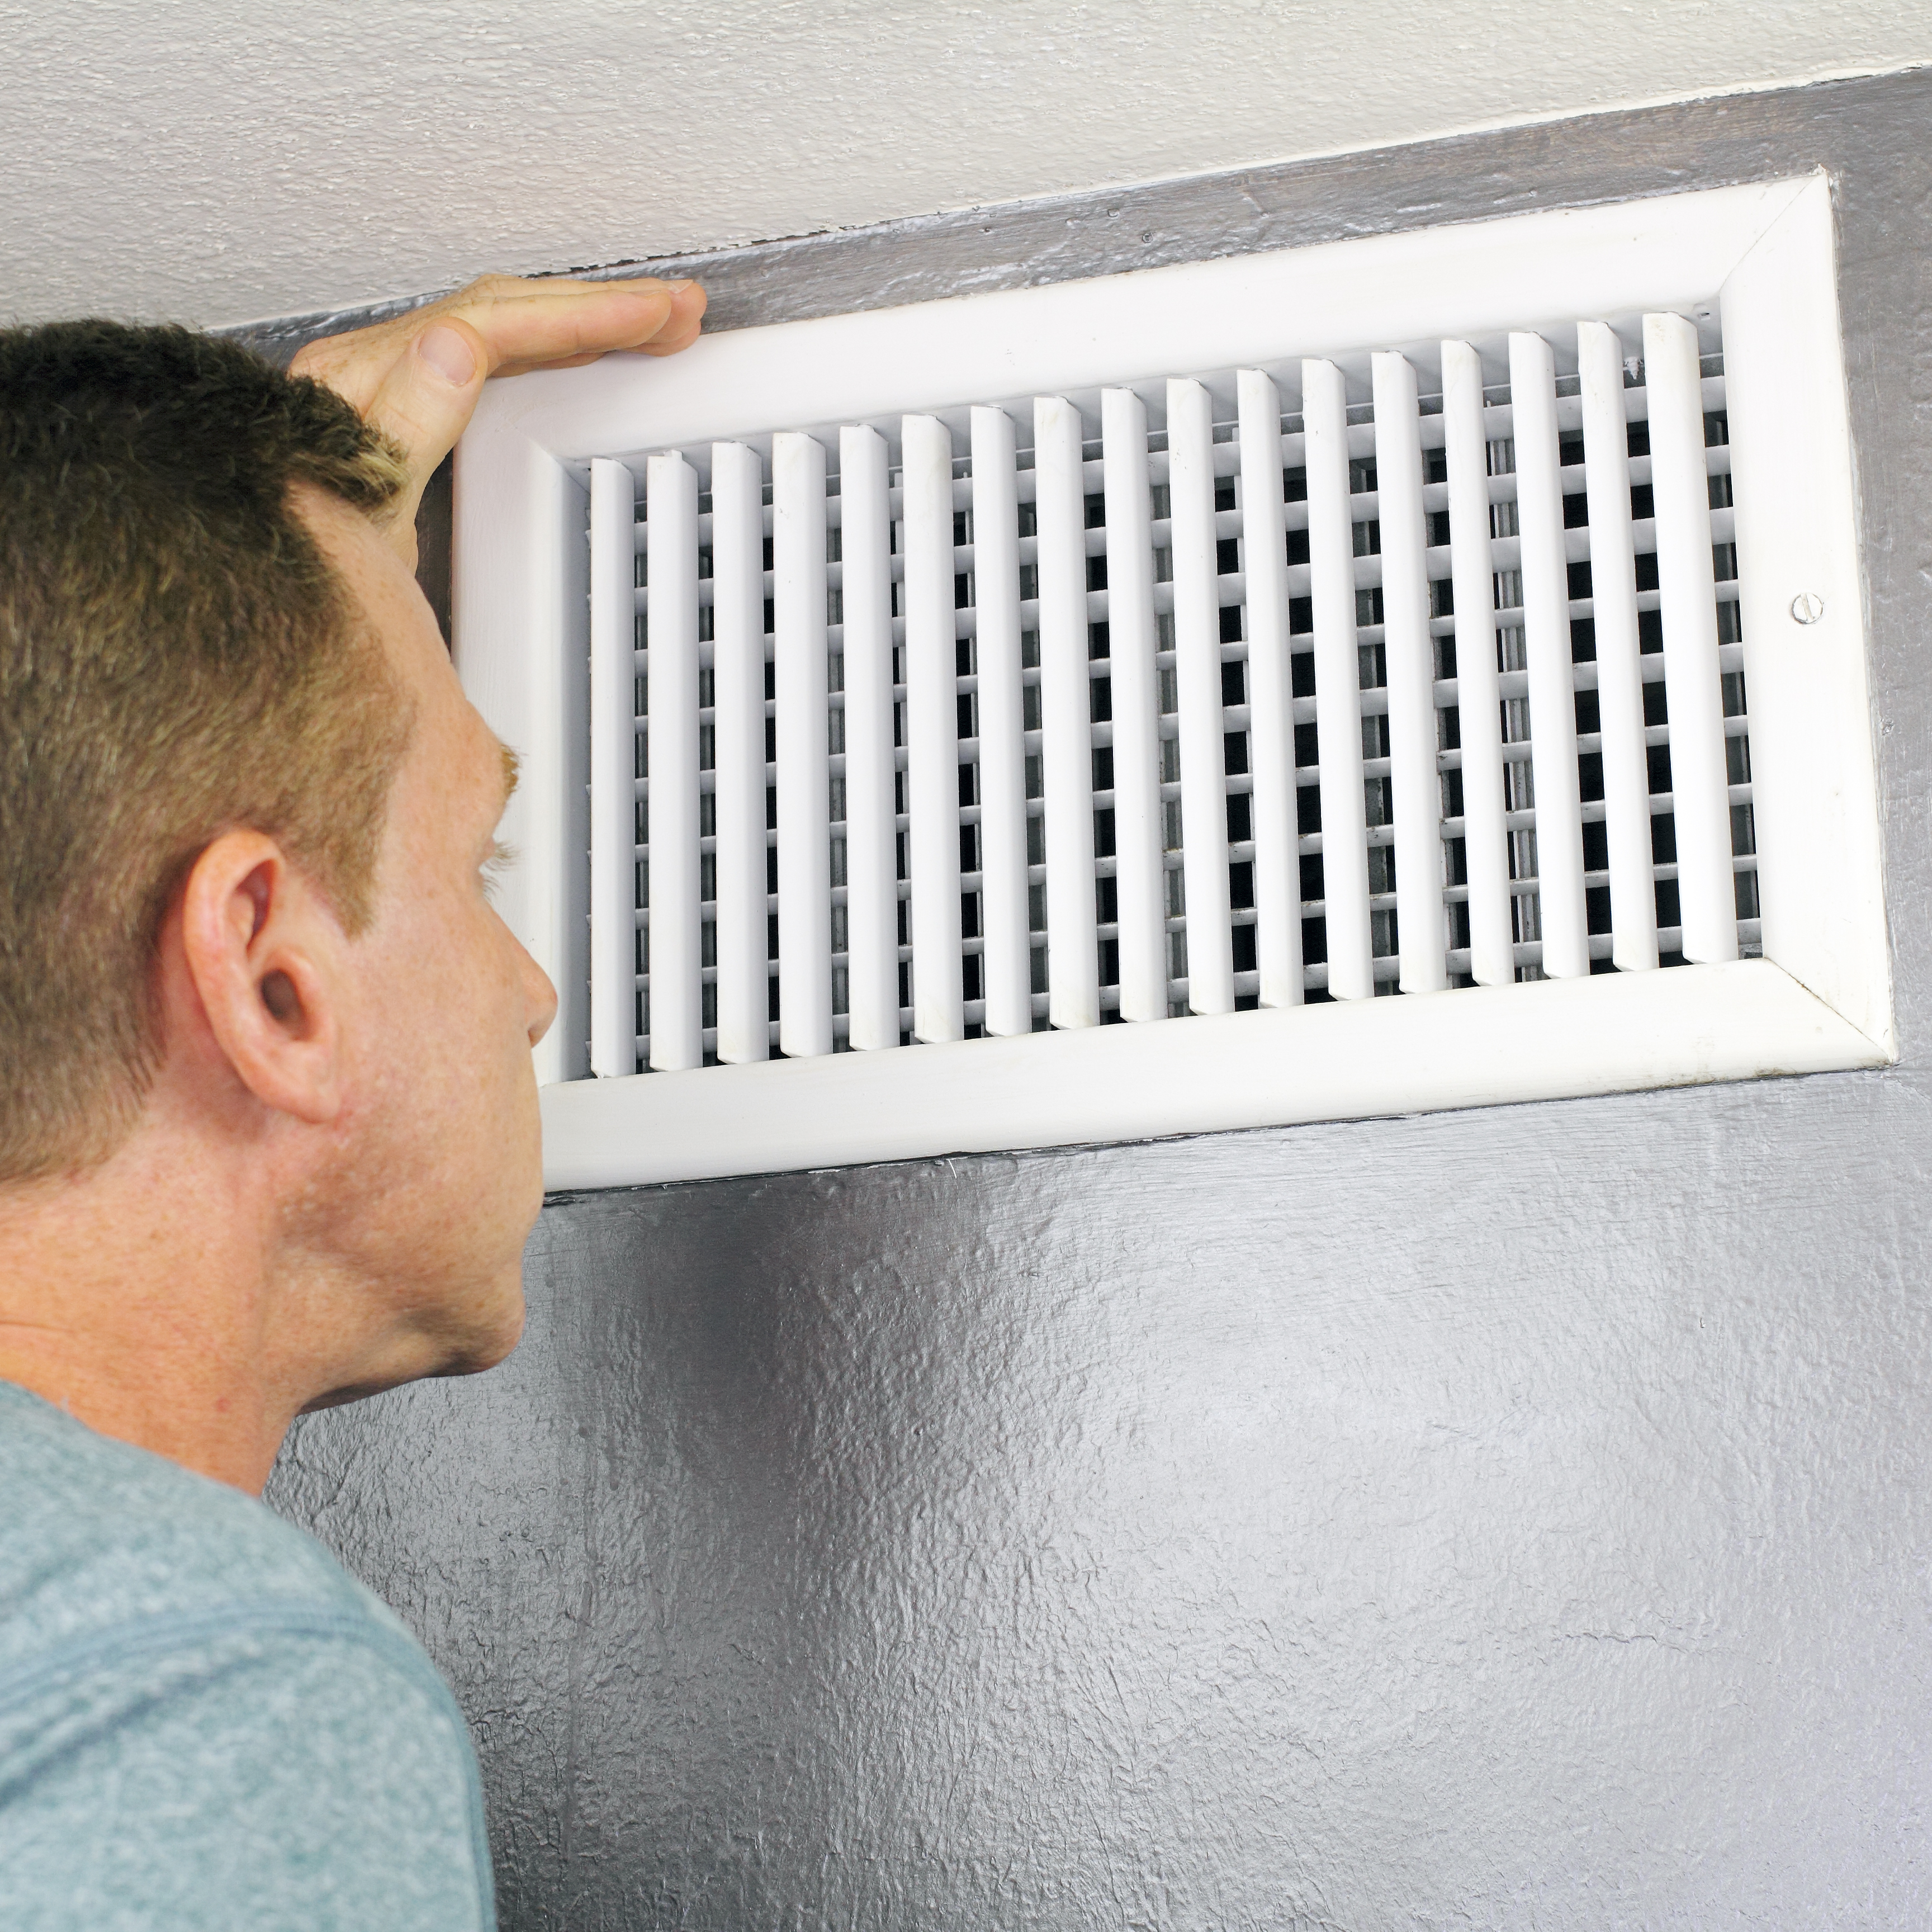
- Remove wall, ceiling and floor registers.
- Clean the registers thoroughly with vacuume and brush.
- Create two 8" openings in the main trunk lines. One in the supply and one in the return to connect our vacuum truck.
Clean Each Vent
STEP THREE
- We use our Hypervac system with an air compressor and air whips to ensure thorough air duct cleaning.
- An air hose with rods and whips is used to dislodge dust and debris, which is then vacuumed into the main trunk lines.
Clean Each Trunk Line
STEP FOUR
- We create 1 1/4" openings where needed in your trunk lines to gain full access to your system.
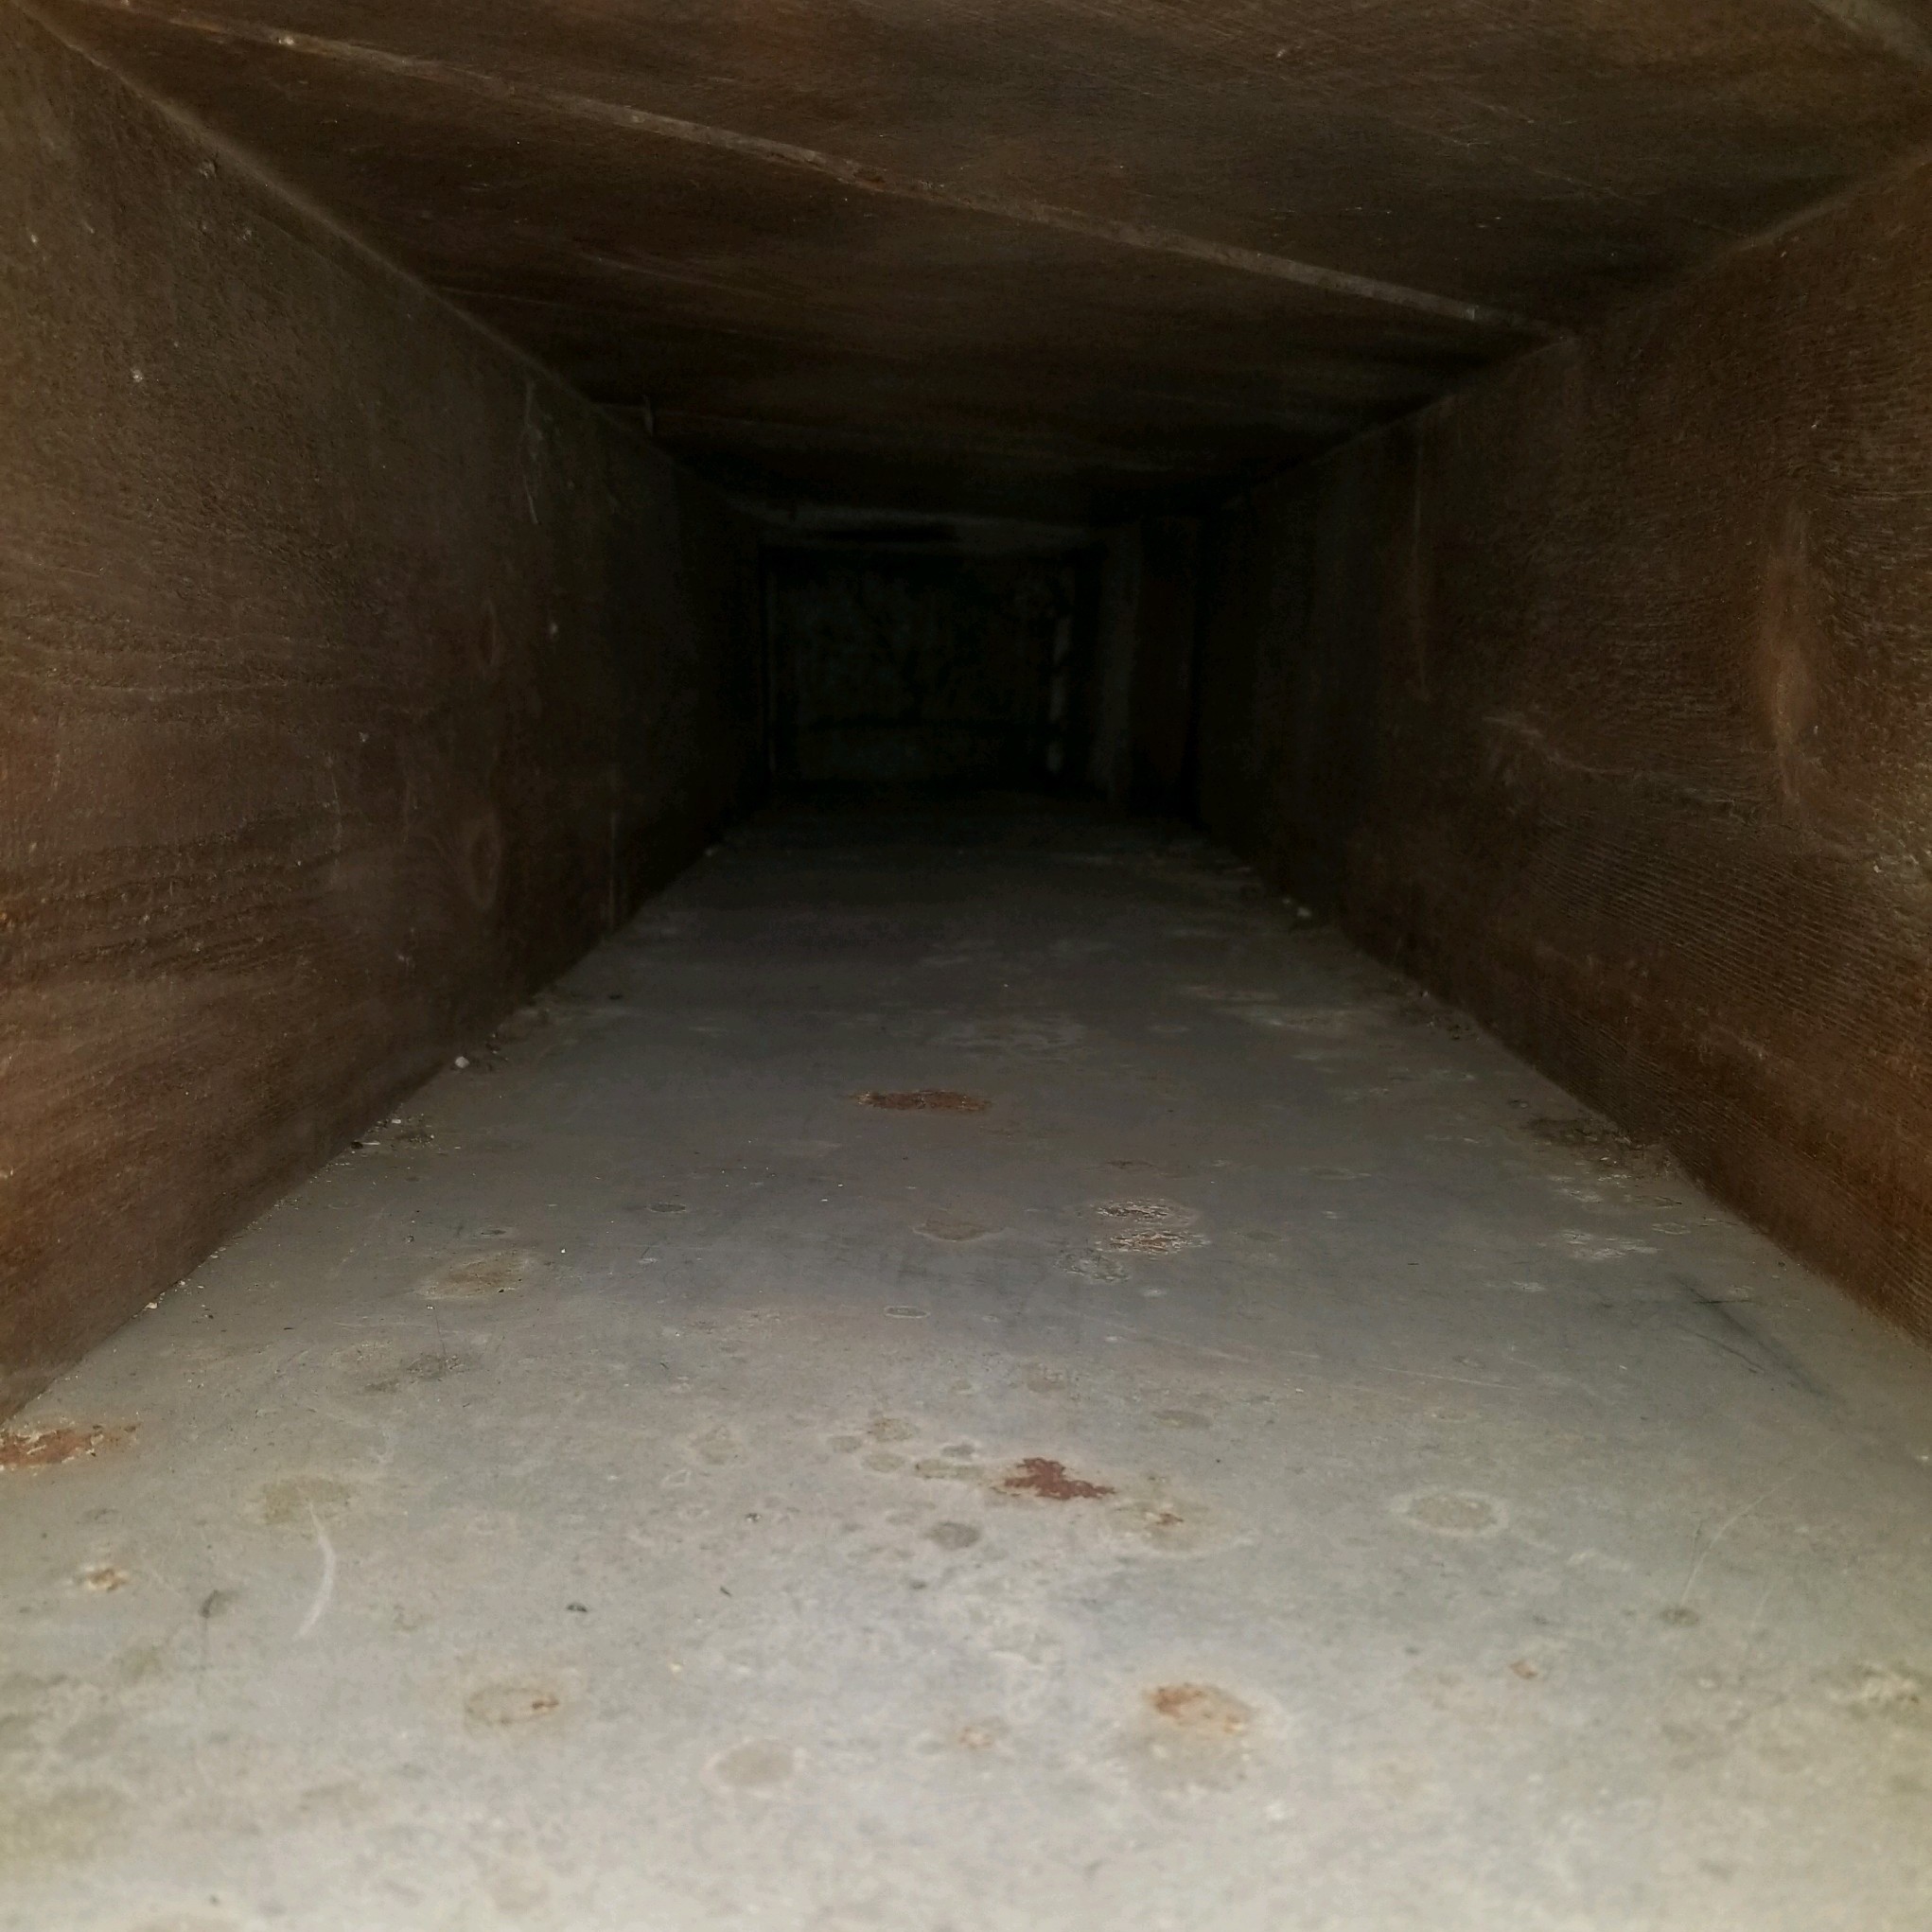
- We use the same Hypervac system to clean each trunk line using bigger air whips.
- The 1 1/4" openings are sealed with black plugs.
- Finally, we seal each 8" opening with a sheet metal patch, foil tape and sheet metal screws ensuring a beautiful finished product.

Disinfect the System
STEP FIVE
- Before the system is sealed we mist with EnviroCON, an EPA approved disinfectant treatment.
- This disinfectant kills any harmful microbacterials that are in the system, yet is safe for pets and humans.
- This treatment also leaves the system smelling minty fresh.

Final Walkthrough
STEP SIX
-
Our technician will walk the job to:
- Make sure registers are re-installed properly
- Ensure no messes are left behind
- Verify all openings have been sealed
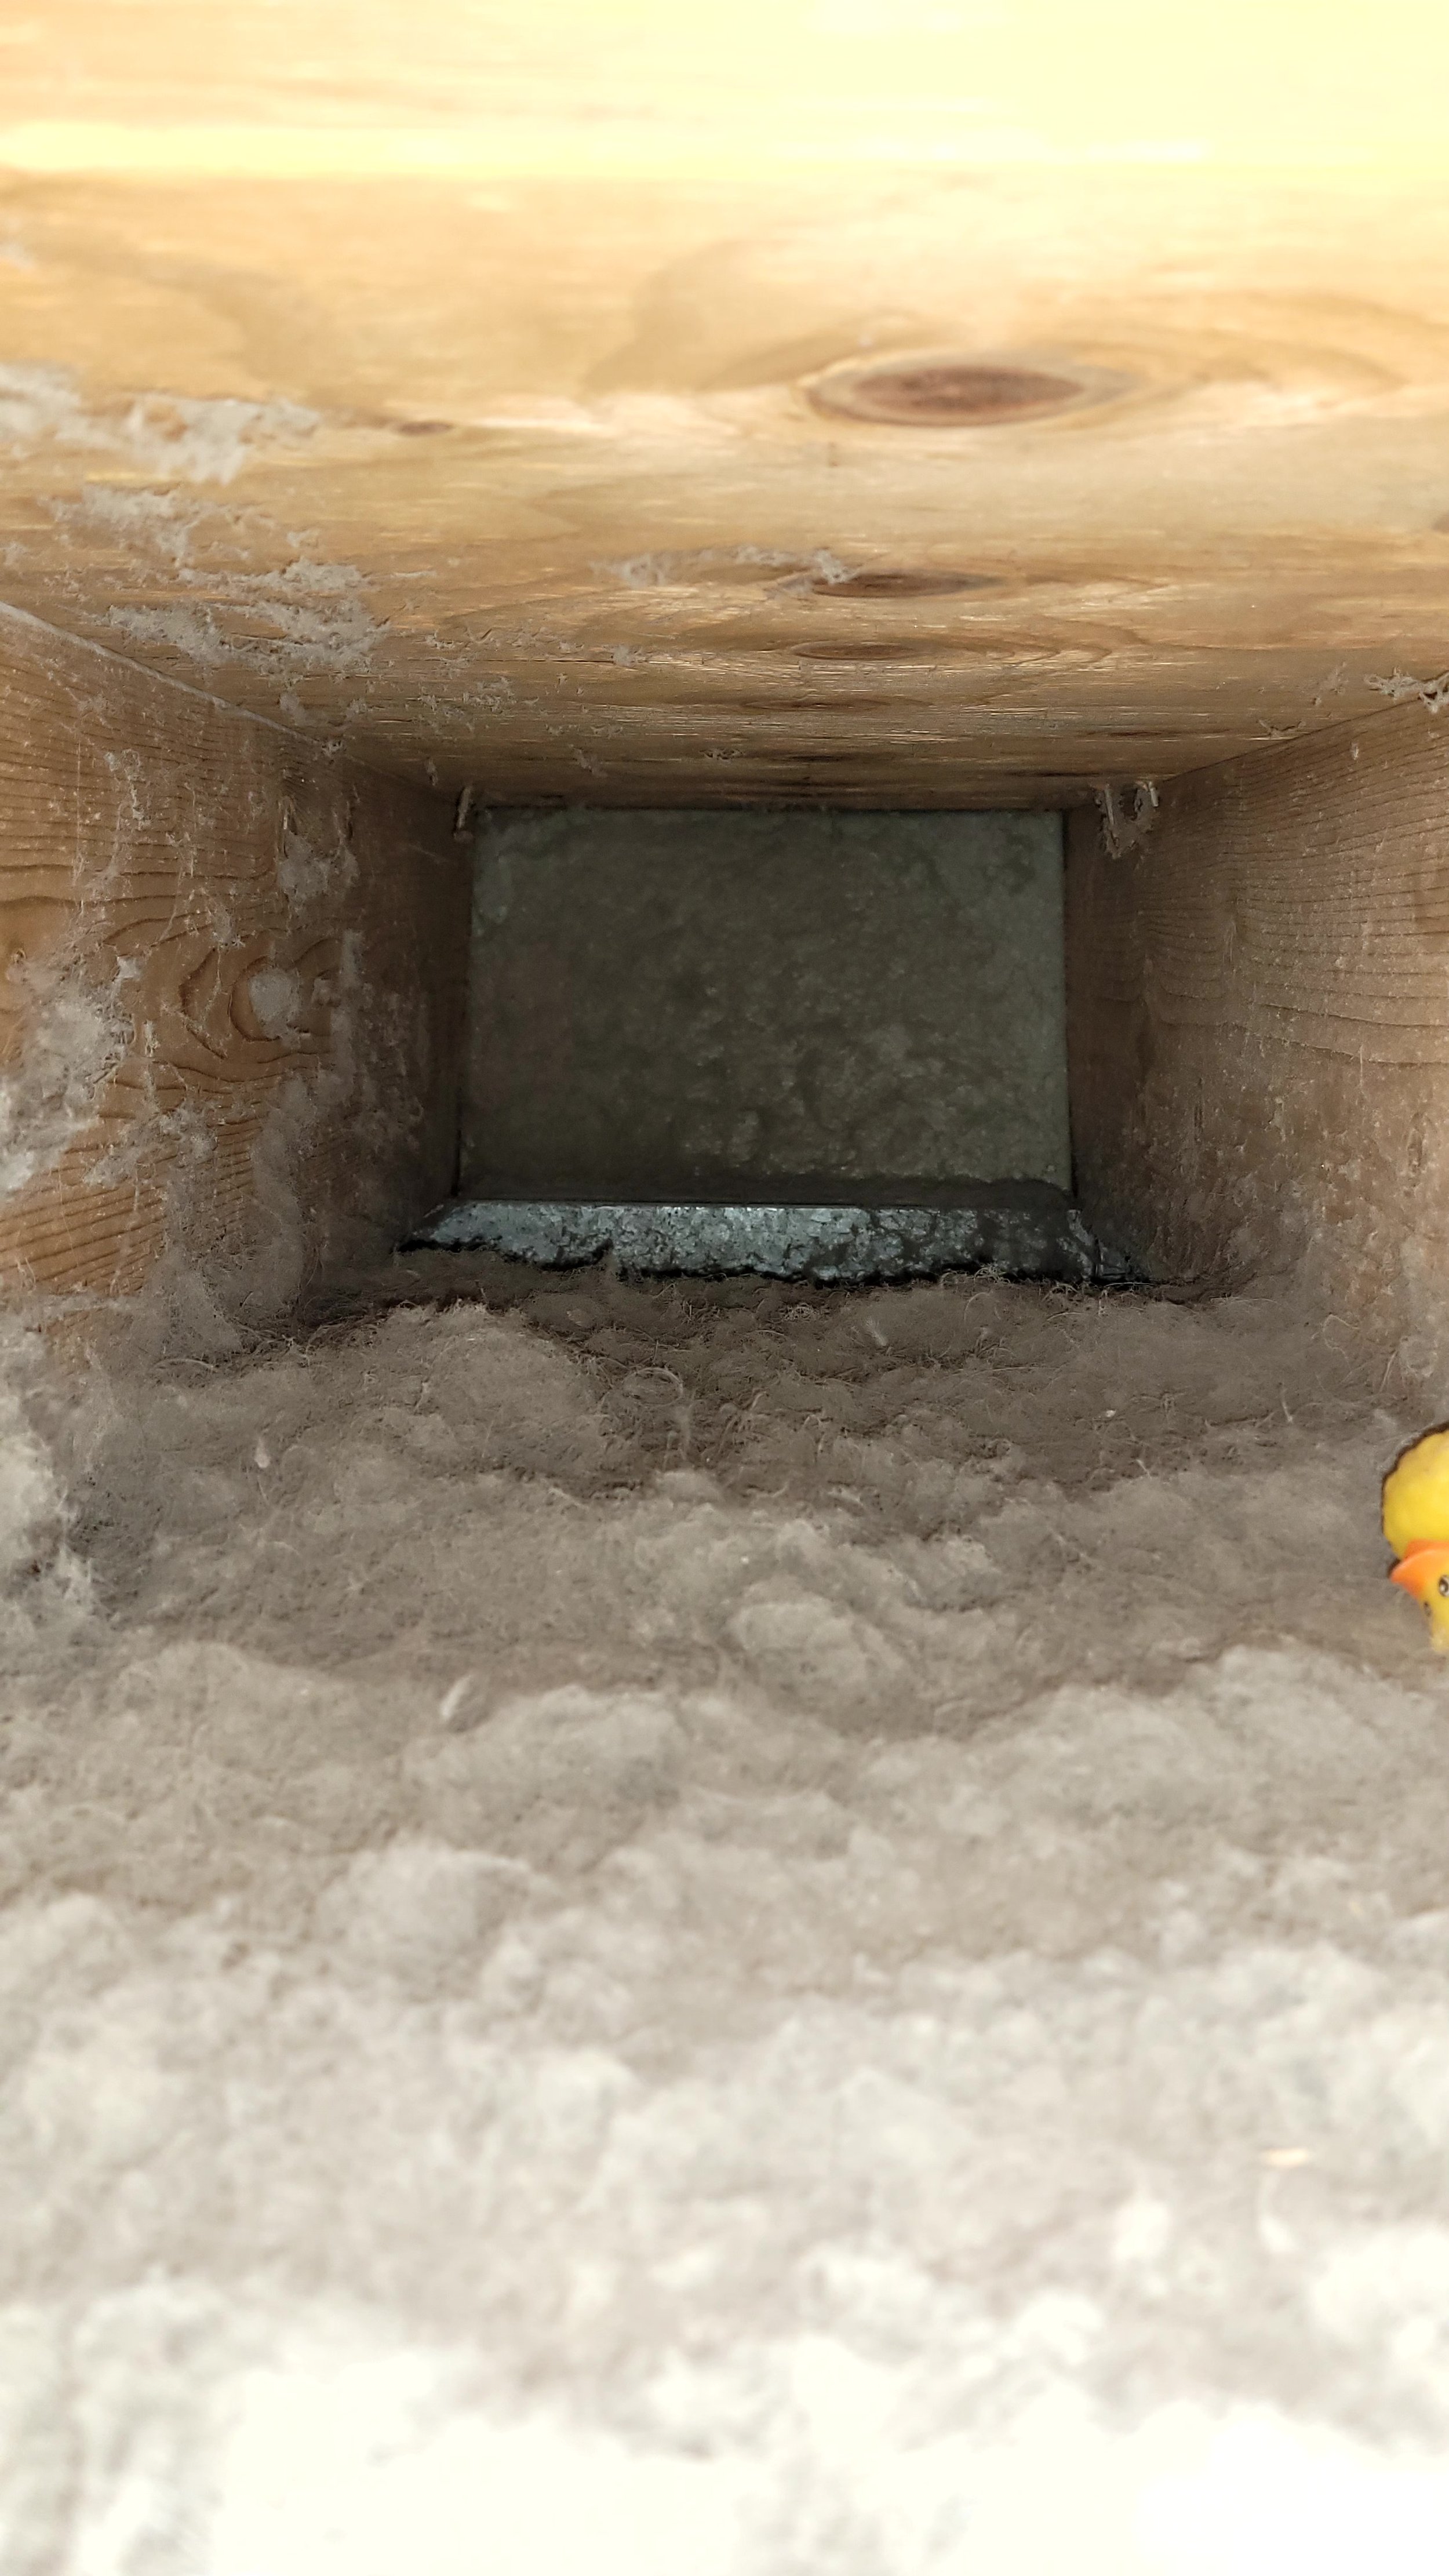
Finally, we will review before and after pictures so you can see the difference!

DRYER VENT CLEANING
Our Dryer Vent Cleaning Process
Photo Inspection
STEP ONE
- You can decide if the vent needs to be cleaned before we begin the process
- We will provide our professional opinion, and recommendation. No pushy sales guy!
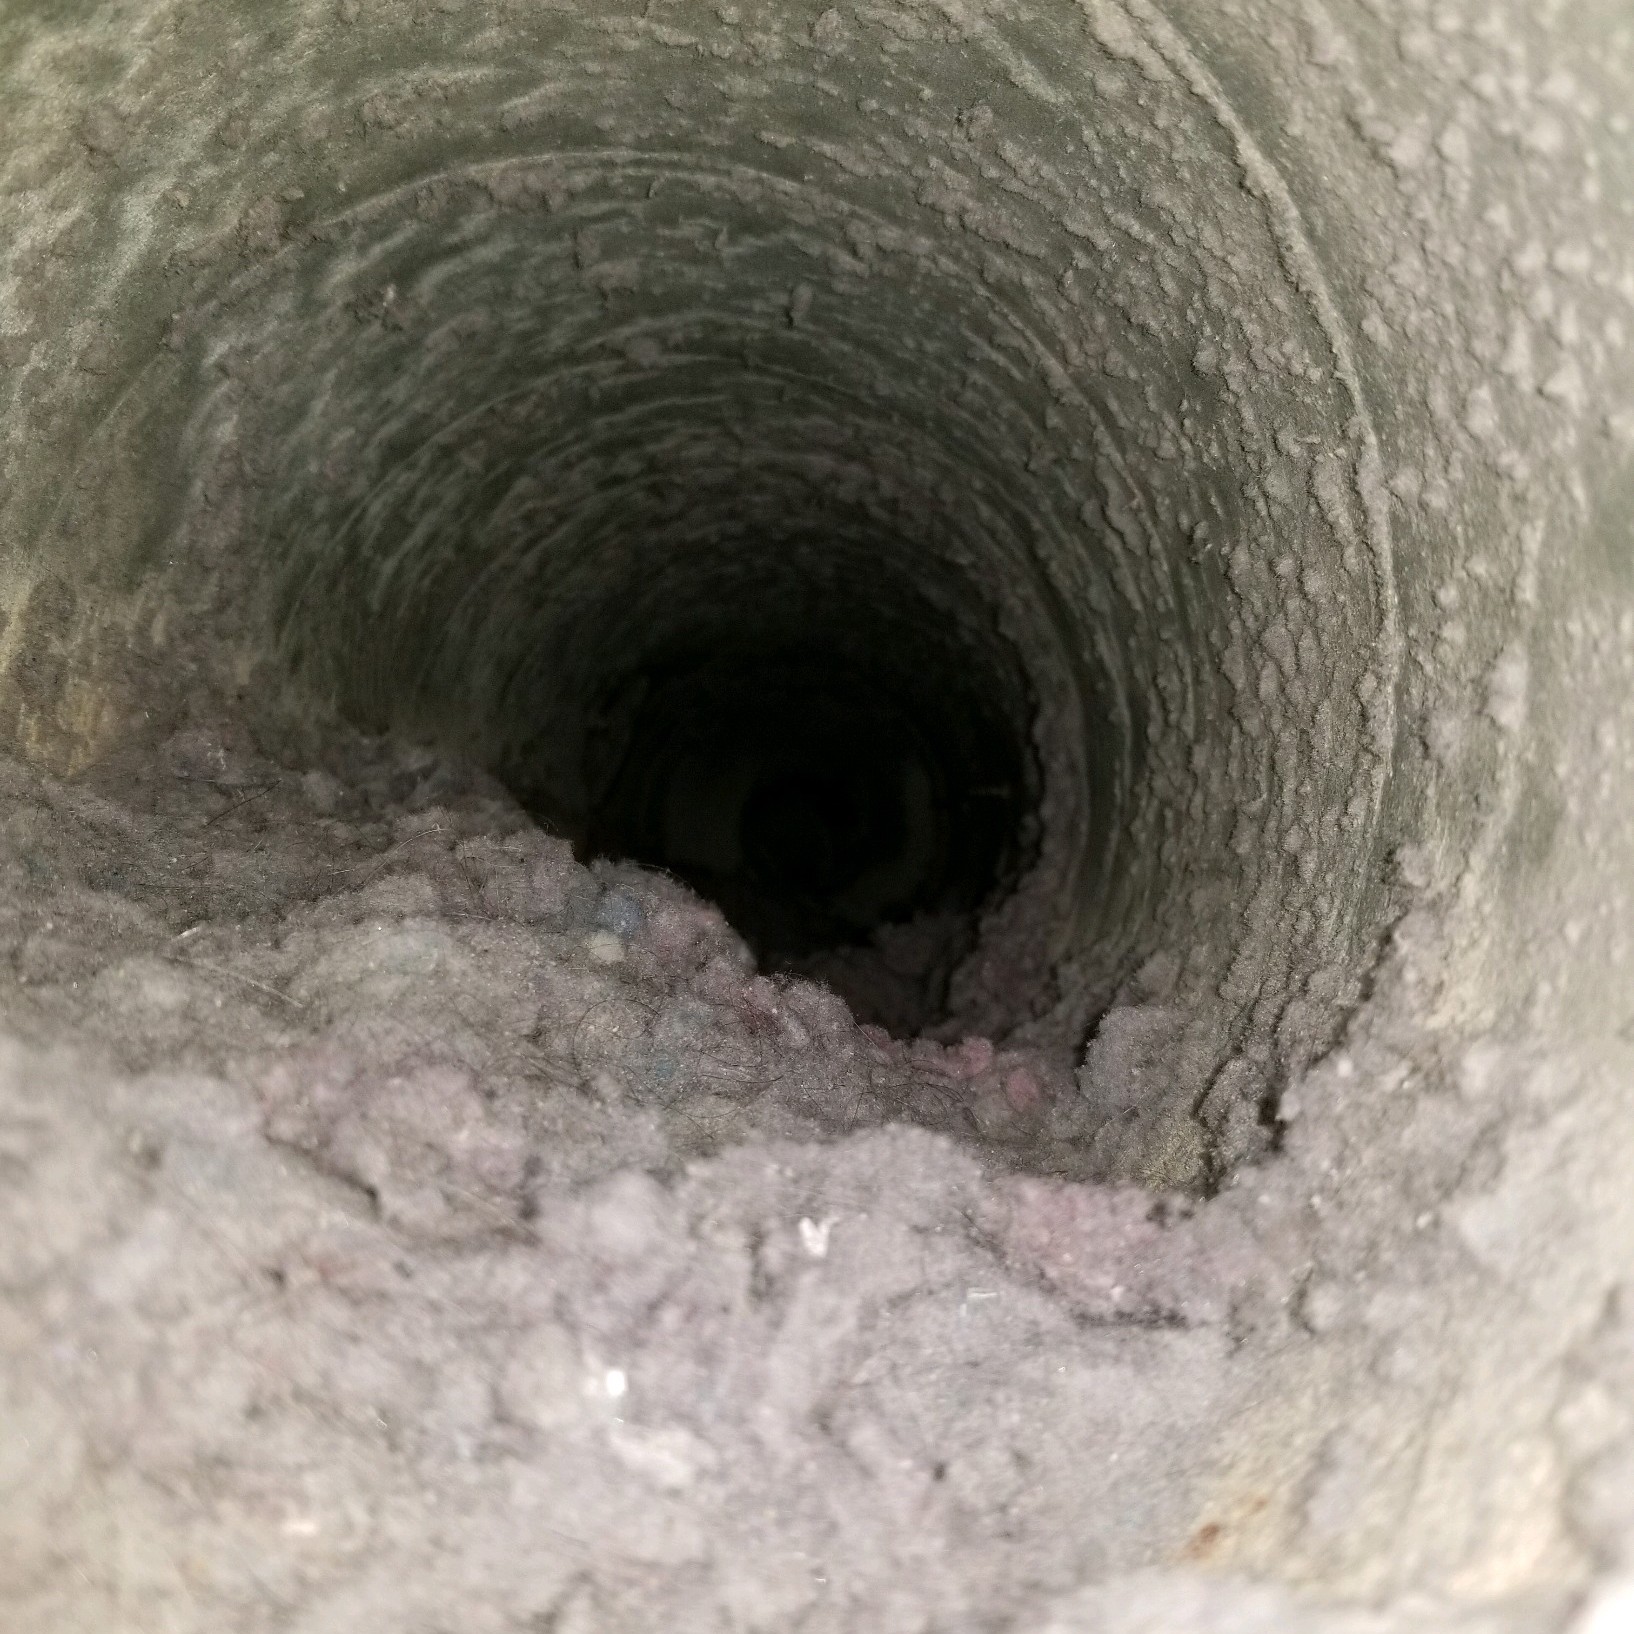
Access the pipe
STEP TWO
- Sometimes we will access it from the dryer, and sometimes we access it from the exhaust outlet.
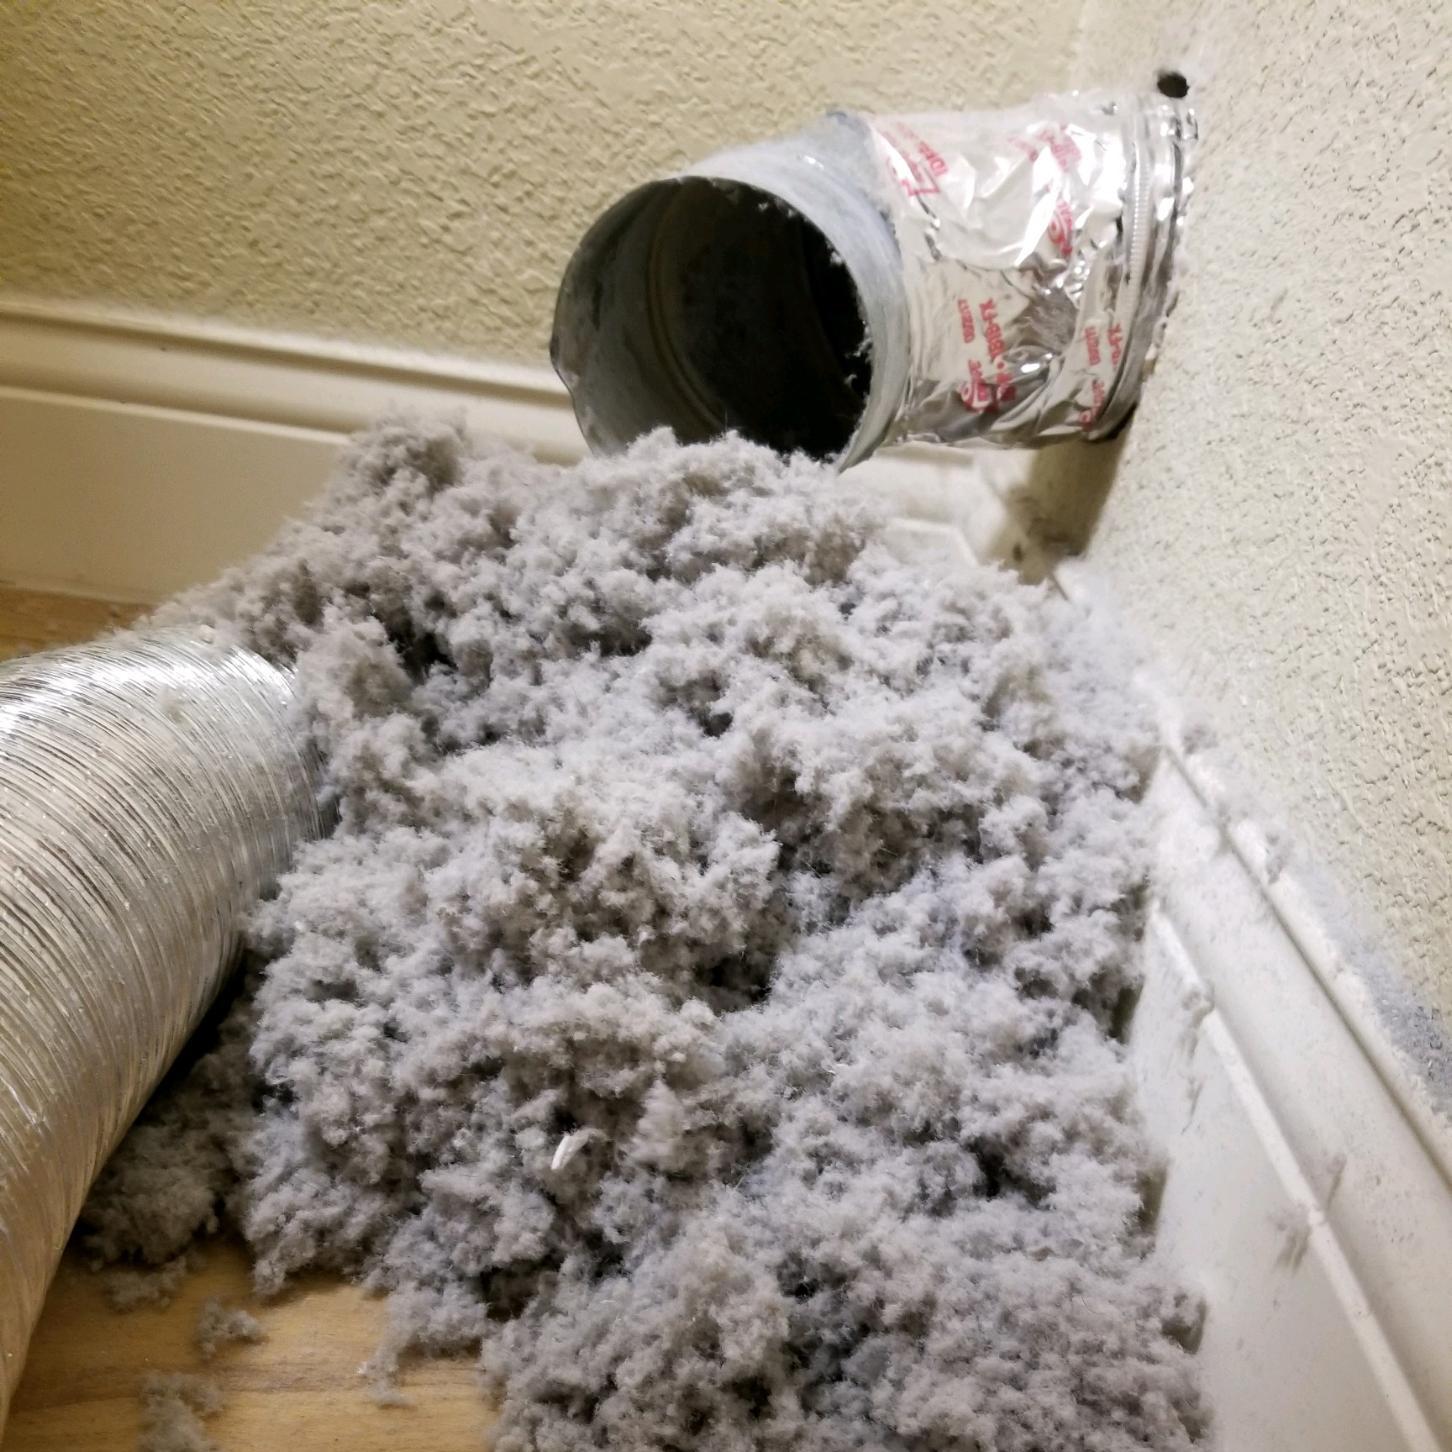
Clean The Pipe
STEP THREE
- We send a spinning brush all the way through to ensure there are no obstructions.
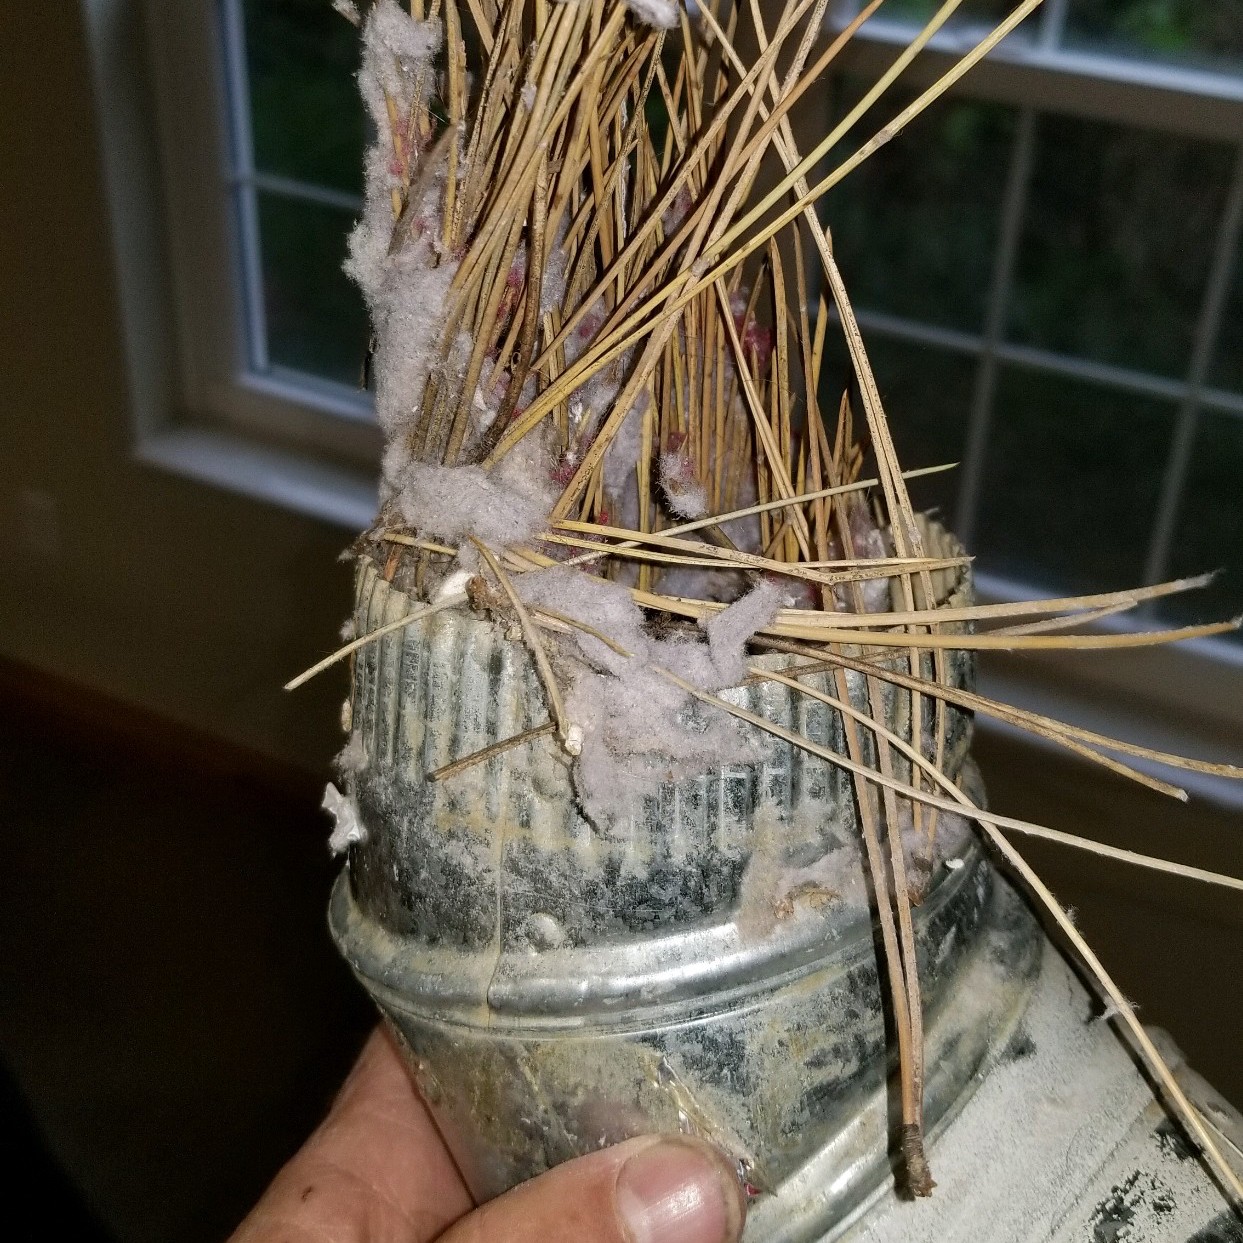
- This includes removing any birds, bees or critters nests that have been built.
Reassemble the System
STEP FOUR
- We put everything back together and move the dryer back in place.
- We also clean the surrounding area of any dust we may have raised.
- To finish, we clean the inside of the lint trap.
